Some of the most impactful cleaning tasks are the ones we tend to put off. Window sills and tracks often fall into that category, quietly collecting dirt until they become a major project. But keeping them clean doesn't have to be a difficult chore. With just a few common household items and a simple process, you can make a huge difference in your home’s appearance and health. This guide breaks down the process of cleaning window sills and tracks into easy, manageable steps. You’ll learn how to effectively remove stubborn grime and prevent buildup, ensuring your windows look and function beautifully.
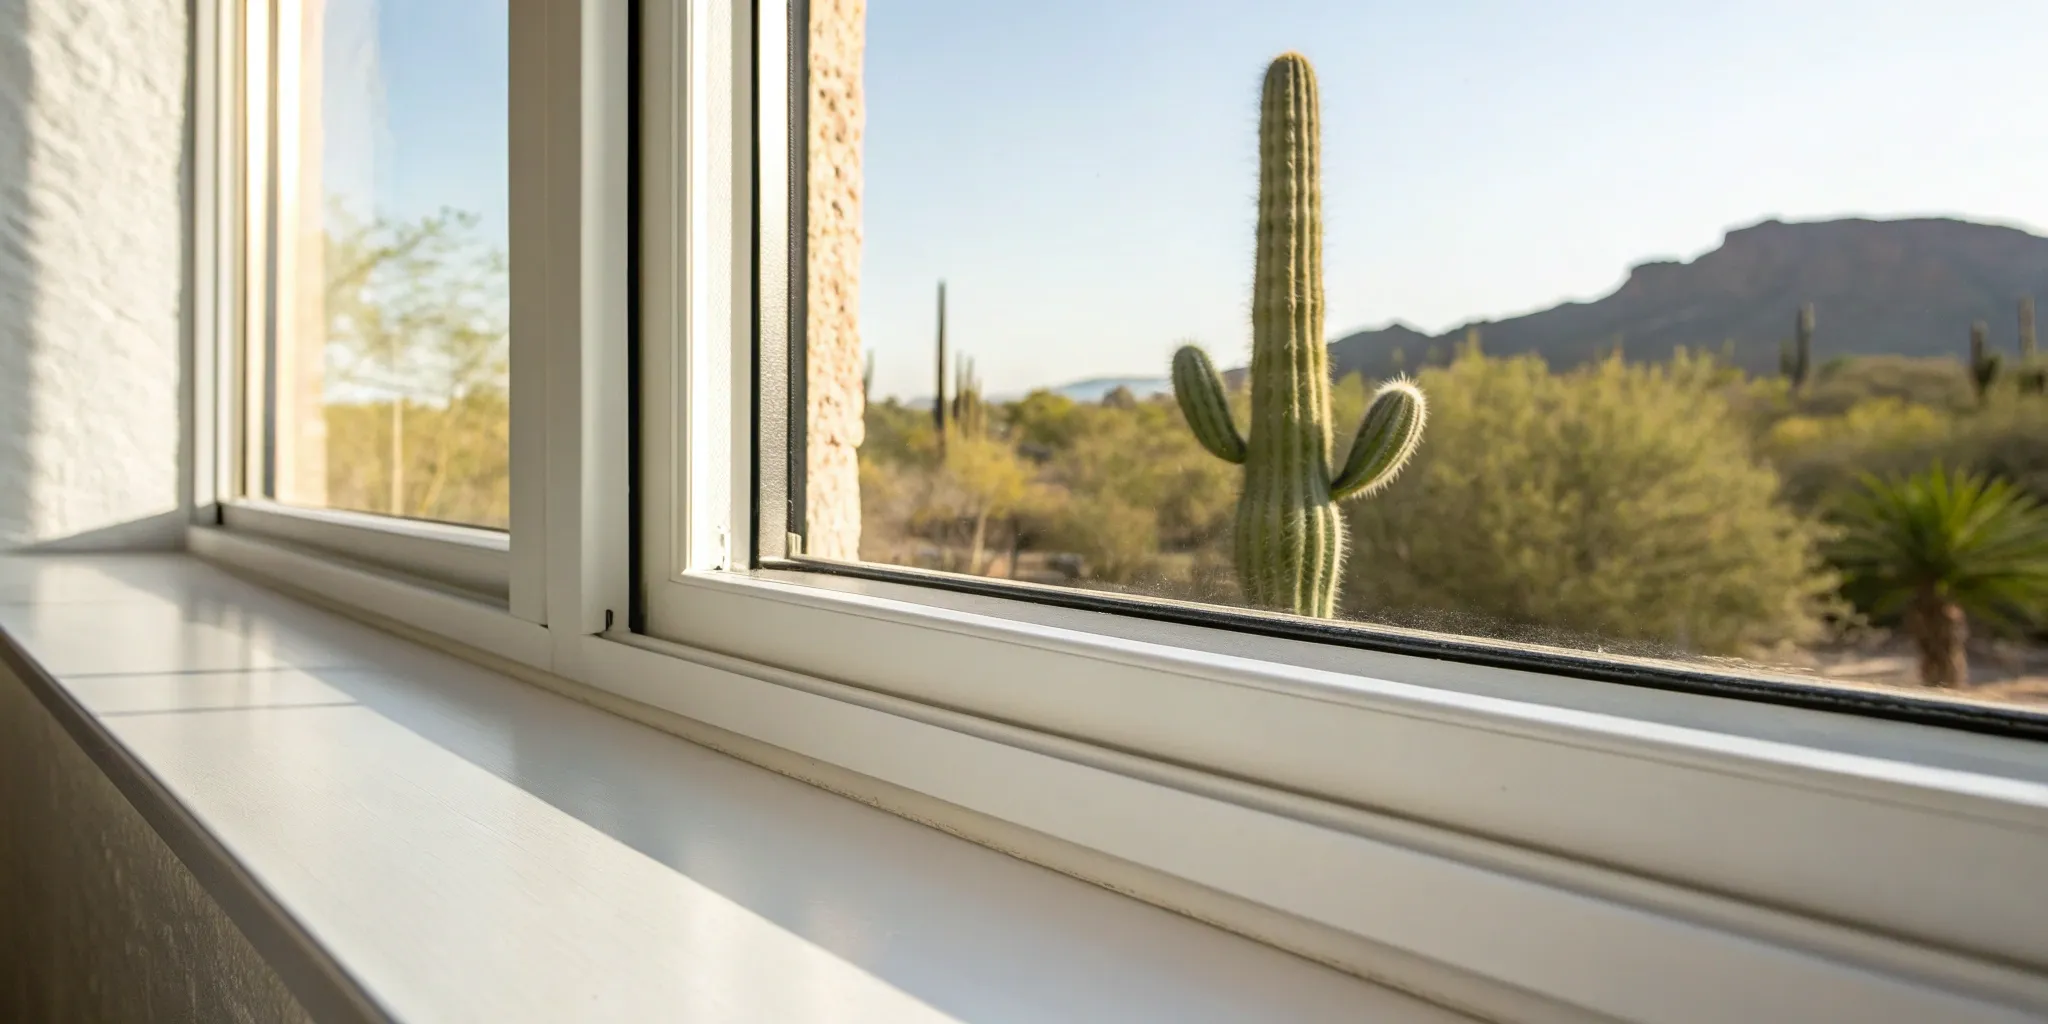
It’s easy to overlook your window sills and tracks during your regular cleaning routine. After all, they’re small details. But here in Arizona, these areas are ground zero for dust accumulation that can affect your home’s health and value. Keeping them clean is less about appearances and more about essential maintenance. Think of it as protecting a significant investment—your home. The dust in our beautiful Sonoran Desert, when combined with environmental pollutants, is corrosive. If not removed regularly, it can cause lasting damage to your window frames, seals, and glass. A little preventative cleaning goes a long way in preserving your home’s integrity and ensuring your indoor environment is clean and healthy.
The fine dust we see across Maricopa County is more than just a nuisance; it’s abrasive and damaging. This dust settles deep into window tracks and grinds against the seals every time you open or close a window. Over time, this constant friction wears down the protective seals, leading to drafts, leaks, and a noticeable drop in your home's energy efficiency. The dust can also etch the glass itself. When left to accumulate, this buildup can trap moisture and minerals, leading to corrosion and permanent stains. Taking steps to prevent desert dust damage is crucial for avoiding costly repairs down the line and keeping your windows in pristine condition.
Your window sills and tracks act as shelves, collecting dust, pollen, pet dander, and other pollutants that blow in from outside. Every breeze can stir these particles up and circulate them throughout your home, impacting your indoor air quality. For anyone with allergies or respiratory sensitivities, this can be a significant issue. Regularly cleaning these areas removes these trapped allergens, creating a healthier breathing environment for your family. Clean tracks also ensure your windows operate smoothly, which is a key safety feature. A window that is stuck or difficult to open can be a hazard in an emergency, so maintaining them helps enhance your home's comfort and safety.
Before you start scrubbing, getting all your tools and solutions ready will make the job much easier. The great news is that you likely have everything you need in your pantry or cleaning closet. A deep clean doesn't require expensive, specialized products. With just a few simple household staples, you can tackle the dust and grime that builds up in your window sills and tracks, which is an essential part of home maintenance here in Arizona.
Getting your supplies in one place makes the process much smoother and helps you work more efficiently. Think of it as setting up your workstation. This small bit of prep ensures you won't have to stop midway through to search for a brush or mix another batch of cleaner. Let's walk through the basic items you'll want to have on hand.
You don’t need fancy equipment for this job. Simple tools are often the most effective for getting into the nooks and crannies of window frames. Start by grabbing your vacuum cleaner with a brush and crevice attachment to lift away all the loose dust and debris. You’ll also want a few microfiber cloths for wiping and drying, an empty spray bottle for your cleaning solution, and an old toothbrush or small scrub brush for detailing tight corners. For really stubborn gunk lodged in the tracks, a plastic putty knife or even a butter knife wrapped in a cloth can work wonders without scratching the surface.
For most routine cleaning, a simple and effective solution is all you need. Just mix equal parts of white vinegar and warm water in your spray bottle. This all-purpose cleaner is great for cutting through grime and disinfecting surfaces. If you’re dealing with more stubborn, caked-on dirt, create a paste with baking soda and a small amount of water. Apply it to the tough spots and let it sit for a few minutes before scrubbing. This combination is a gentle abrasive that helps lift grime without damaging your window frames. These simple mixtures are often just as powerful as store-bought chemicals.
Whenever you’re cleaning, it’s important to keep safety in mind. Even when using natural ingredients like vinegar, good ventilation is key, so open a few windows or a door to get the air flowing. We always recommend wearing a pair of household gloves to protect your hands from dirt and dryness. Before applying any cleaning solution to the entire sill or track, it’s a smart move to test it on a small, hidden spot first. This ensures it won’t cause any discoloration or damage to the material, whether it's wood, vinyl, or aluminum. If you're ever unsure about how a cleaner will affect your windows, it's always best to contact a professional.
Window sills are magnets for dust, allergens, and here in Arizona, that fine layer of corrosive dust that gets everywhere. Keeping them clean isn't just about appearances; it's about protecting your window frames from long-term damage and maintaining healthy indoor air. A little regular maintenance goes a long way in preventing buildup and making the job much easier. With just a few common household items, you can get your sills looking spotless by following these three simple steps.
Before adding any cleaning solutions, your first goal is to remove all the loose dirt. Scrubbing while sand and grit are still on the surface can scratch the paint or vinyl. Start with a dry, stiff-bristled brush or an old toothbrush to sweep dust from the corners. For a more thorough job, use a vacuum cleaner with a brush or crevice attachment to suck up all the particles you just loosened. This dry-clean step is crucial for preventing a muddy mess and ensures you’re tackling the actual grime.
With the loose debris gone, it’s time for the stuck-on grime. A simple DIY solution is all you need. Generously sprinkle baking soda along the window sill, focusing on any stained areas. Next, spray it with white vinegar. You’ll see a fizzing reaction as the baking soda and vinegar work together to break down dirt. Let it sit for five to ten minutes, then use a sponge or cloth to scrub away the grime. This gentle but powerful cleaning method is safe for most sill materials and leaves them looking fresh without harsh chemicals.
Once you’ve scrubbed the sill, the final step is to wipe away the cleaning solution and remaining dirt. Use a clean, damp microfiber cloth to wipe down the entire surface, rinsing it as needed. For tight corners, try wrapping the cloth around the tip of a butter knife. After everything is wiped clean, use a separate dry cloth to buff the sill. Using a microfiber cloth helps trap leftover particles and removes moisture to prevent water spots, leaving a perfectly clean, shining surface.
Window tracks are notorious for collecting everything from dust and pollen to pet hair and dead bugs. Here in Arizona, that fine desert dust can mix with moisture and create a stubborn, cement-like grime that makes windows hard to open and close. This buildup isn't just an eyesore; it can interfere with the proper sealing and smooth operation of your windows, which are a significant investment in your home. Keeping them clean is essential for maintaining their function and appearance. This straightforward, three-step process will help you tackle that grime and get your window tracks looking and working like new.
Before you introduce any liquid, your first goal is to remove all the loose, dry debris. Adding water or a cleaner at this stage will only create a muddy mess that’s much harder to clean. Grab your vacuum and use a crevice tool or brush attachment to get deep into the tracks. If you don’t have those attachments, a stiff, dry paintbrush or an old toothbrush works perfectly for sweeping dirt and dust out of the corners. The key is to be thorough and get all the loose particles out first. This simple prep work makes the next steps significantly easier and more effective.
Now it’s time to tackle the caked-on grime. Sprinkle a generous amount of baking soda along the entire length of the window track. Next, lightly spray or pour a small amount of white vinegar over the baking soda. You’ll see a satisfying fizzing reaction, which is the combination working to break down and lift the stubborn dirt. Let this mixture sit and bubble for about five to ten minutes to give it time to work its magic. This natural cleaning solution is gentle on most window frame materials while being tough on grime, making it a go-to method for many cleaning pros.
Once the fizzing has subsided, use a toothbrush or a small scrub brush to work the paste into the corners and along the track, loosening any remaining dirt. Wipe away the grime with a paper towel or a microfiber cloth. For those really tight spots that a brush can’t reach, a Q-tip or a butter knife wrapped in a thin cloth can be incredibly effective. Taking a few extra minutes to detail these tricky areas is what truly makes the difference, leaving your window tracks looking spotless and functioning smoothly.
Cleaning your window sills and tracks seems straightforward, but a few common missteps can leave you with lackluster results or, worse, cause permanent damage. Getting that satisfying, deep-clean feeling is all about using the right approach and the right tools. By avoiding these simple mistakes, you can ensure your windows not only look fantastic but also function smoothly for years to come. Think of it less as a chore and more as essential maintenance that protects the investment you've made in your home.
When faced with stubborn grime, it’s tempting to reach for an abrasive sponge or a wire brush to scrub it away. Unfortunately, this approach often does more harm than good. Harsh tools can easily scratch and gouge your window frames, whether they’re made of vinyl, wood, or aluminum. These scratches aren't just cosmetic; they can damage the protective finish, leaving the material vulnerable to weather and wear. Focusing only on the glass is another frequent oversight. If you leave the sills and tracks dirty, that grime will find its way back onto your sparkling panes in no time. Stick to soft-bristled brushes and microfiber cloths to preserve your surfaces.
Not all cleaning solutions are created equal, and using the wrong one can be a costly mistake. Harsh chemicals like bleach or ammonia-based cleaners can discolor painted sills, strip protective coatings, and even damage the seals around your windows. It’s also crucial to never mix different cleaning agents, as this can create toxic fumes. The goal is to find a cleaner that’s tough on dirt but gentle on your home’s materials, especially when dealing with the unique challenge of corrosive desert dust window damage. Always start with the mildest solution possible, like simple soap and water, and remember to test any new cleaner on a small, hidden spot before applying it everywhere.
Sometimes, a simple wipe-down isn't enough to cut through the layers of dirt that accumulate in window sills and tracks. Here in Arizona, the fine desert dust can mix with moisture from condensation or the occasional rain, creating a stubborn, cement-like grime. Add in the potential for mold growth in shaded corners, and you have a tougher cleaning challenge on your hands. Don't worry—for these stubborn spots, you just need to switch up your technique. These methods will help you handle caked-on dirt and mildew safely and effectively, protecting the surfaces of your home.
For grime that’s really settled in, a simple and effective household cleaning trick can work wonders. Start by sprinkling a generous layer of baking soda directly onto the tough stains in your window sills and tracks. Next, spray white vinegar over the baking soda until it’s damp and begins to fizz. This bubbling reaction is what does the heavy lifting, breaking down and loosening the caked-on dirt from the surface. Let it sit for about 10-15 minutes, then use a small brush or cloth to scrub the area before wiping it clean. It’s a powerful, non-toxic way to restore your sills.
Finding mold or mildew in your window sills is unsettling, but it’s a common issue that you can manage with the right approach. Safety is the top priority here. Before you begin, open windows for ventilation and put on protective gloves and a mask to avoid inhaling spores. You can tackle the mold with a solution of one part bleach to ten parts water, or with straight white vinegar. For a more natural option, a spray bottle with water and about 10 drops of tea tree oil is also effective. Safely removing mold is crucial, so spray your chosen solution, let it sit for at least 15 minutes to kill the spores, then scrub and wipe clean.
When you’re facing layers of grime that seem impossible to remove, a handheld steam cleaner can be your best friend. This method is incredibly effective because it uses hot, pressurized steam to penetrate and dissolve dirt, grease, and other buildup without any harsh chemicals. It’s a fantastic, eco-friendly option that also sanitizes surfaces as it cleans. Simply use the appropriate nozzle—a small brush attachment works best—and move it slowly along the tracks and sills. The steam will loosen the grime, allowing you to wipe it away easily with a clean cloth. This is the perfect solution for a deep, restorative clean.
Knowing when to clean your window sills and tracks is just as important as knowing how. Consistent maintenance keeps your windows functioning smoothly and prevents the buildup of grime that can cause long-term damage. Here in Maricopa County, where our beautiful desert landscape also brings plenty of dust, staying on top of this task is key to protecting your home. Creating a simple schedule and learning to spot the warning signs will help you keep your windows in pristine condition.
For most homes, a good rule of thumb is to deep clean your window tracks and sills about twice a year. A great time to tackle this is during your annual spring cleaning and then again in the fall. This routine is usually enough to manage the dirt and allergens that accumulate over the months. Between these deeper cleans, a quick maintenance routine can make a world of difference. Simply vacuuming the tracks with a brush attachment or wiping the sills down with a microfiber cloth can prevent that corrosive desert dust from settling in and becoming a bigger problem.
Sometimes, your windows will tell you they need attention sooner than your schedule dictates. Because they are constantly exposed to the elements, sills and tracks are magnets for debris. It’s time for a deep clean if you notice your windows are sticking or difficult to slide open, as this is often caused by compacted grime in the tracks. Another clear sign is visible buildup of dirt, sand, or dead insects. Pay close attention to any dark, speckled spots, which could be early signs of mold or mildew. Addressing these issues promptly not only keeps your windows looking great but also protects your home’s air quality.
While a good DIY cleaning session can work wonders, some situations call for a professional touch. Knowing when to hand over the brushes and call in an expert isn't about giving up; it's about making a smart choice to protect your home and your time. If you're dealing with stubborn issues that don't resolve with simple cleaning, or if you want to ensure the job is done to the highest standard without risking damage, a professional service is your best bet.
In Arizona, we face unique challenges. The combination of intense sun and corrosive desert dust can cause damage that goes beyond simple grime. Professionals have the right tools, specialized training, and proprietary solutions to tackle these specific environmental threats, ensuring your windows, sills, and tracks aren't just clean but are also protected from long-term wear.
If you notice persistent mold growth or significant water damage around your window sills and tracks, it may point to bigger problems like leaks or poor insulation that need a professional eye. These are issues that a simple cleaning can't solve. A certified technician can spot the difference between surface-level dirt and a symptom of a more serious concern. Trying to fix these underlying problems yourself can sometimes lead to more damage. Professional services provide a thorough cleaning that addresses what you can see while also assessing for hidden issues that could compromise your home’s integrity.
Your home is one of your most significant investments, and its windows are a major part of that value. Regular, professional maintenance of window sills and tracks does more than just improve your home's appearance; it prevents long-term damage that can lower your property value. Neglecting this maintenance can lead to problems like rot, warping, and even structural decay, which are expensive to repair. By entrusting this task to a certified professional team, you’re not just cleaning—you’re actively preserving your home’s condition and protecting your investment for years to come.
Why is Arizona's desert dust so damaging to windows? Unlike typical household dust, the dust here in the Sonoran Desert is fine, sharp, and abrasive. When it settles in your window tracks, it acts like sandpaper, grinding away at the seals every time you open or close the window. Over time, this corrosive mixture of dust and pollutants can also etch the glass and damage the window frames, leading to costly repairs and a less efficient home.
Is the baking soda and vinegar solution safe for all window materials? For most common window materials like vinyl, aluminum, and properly sealed wood, this gentle DIY solution is perfectly safe and effective. However, it's always a smart practice to test any cleaning solution on a small, inconspicuous area first. This quick spot test ensures you won't cause any discoloration or damage to your specific window finishes.
How can I tell if I have a bigger problem than just dirt, like a leak? Dirt and grime are one thing, but water damage is another. Look for signs like peeling or bubbling paint on the sill, soft spots in wooden frames, or a persistent musty smell that doesn't go away after cleaning. If you notice condensation between the panes of a double-paned window, that's another clear sign that the seal has failed. These issues point to problems that cleaning alone can't fix.
My windows are still hard to open after cleaning the tracks. What's next? If you've given the tracks a thorough cleaning and your windows still stick, the problem might be deeper than just surface grime. Debris can become so compacted over time that it requires specialized tools to remove, or the issue could be mechanical, involving the window's rollers or alignment. At this point, it's best to have a professional take a look to diagnose the real issue without causing any damage.
What does a professional cleaning include that my DIY cleaning might miss? While DIY cleaning is great for maintenance, a professional service offers a more comprehensive and protective treatment. We use proprietary cleaning formulations specifically designed to combat Maricopa County's corrosive dust, breaking the bond between the grime and your glass. Our certified technicians also have the tools to safely and thoroughly clean every component—including the sills, frames, and exposed tracks—as a standard part of our service, ensuring a complete and lasting clean that protects your home's value.